Hey Naptime = Craft Time readers! My name is Kelly and I blog over at Living Craftily Ever After. I am so excited to be here today blog swapping with Tracy! I love her blog and all the fun things she shares!
Today I'm going to share a post I did on making fabric flowers! I hope you enjoy it!
Today I'm going to share a post I did on making fabric flowers! I hope you enjoy it!
These are SO EASY to make!
Of course I took pics along the way to share with you in case you haven't seen this before!
Materials:
Fabric
Needle and thread
Button center
Scissors
Scissors
First, take fabric and cut it into squares. I made mine 3 in x 3 in
** You want to IRON your squares... I was being super duper lazy did not and regretted it once it was done! So save yourself the regret- IRON!**

{I forgot to take a picture of the first square being added on... but it is the same for all of them}
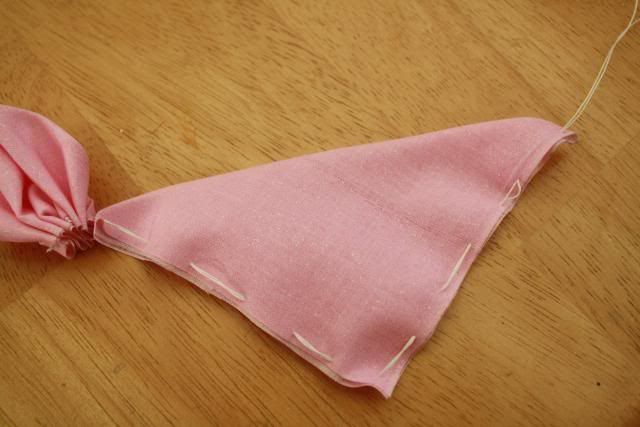
You take your square and fold it in half
And then just use a long gather stitch and stitch all along the 2 edges {I would maybe make the stitches a little closer together than I did...}
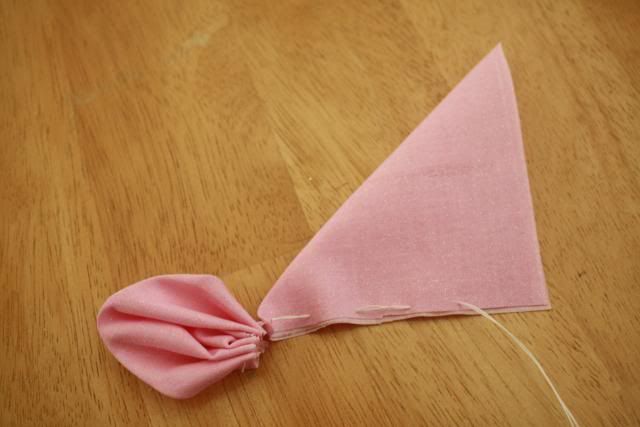
And then you pull lightly on the stitch to gather your fabric
Pull it all the way and you have a petal!
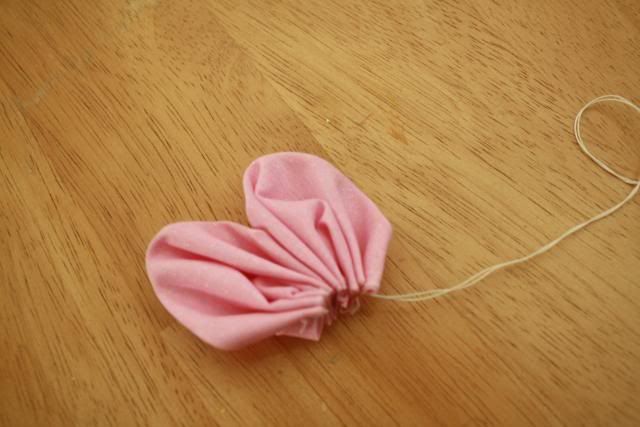
Repeat the same process for all of your petals. I made mine with 5 petals, but I am sure you could play around with it!
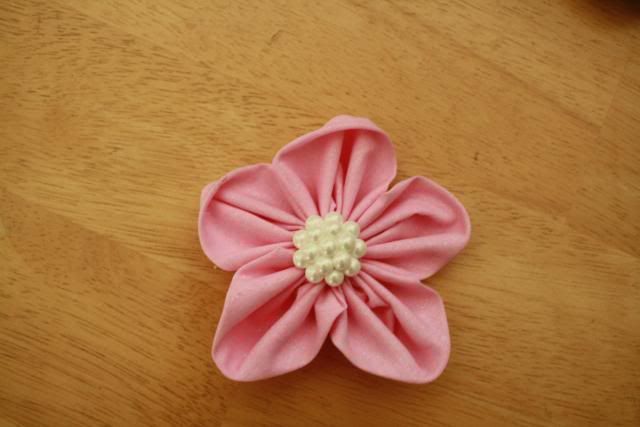
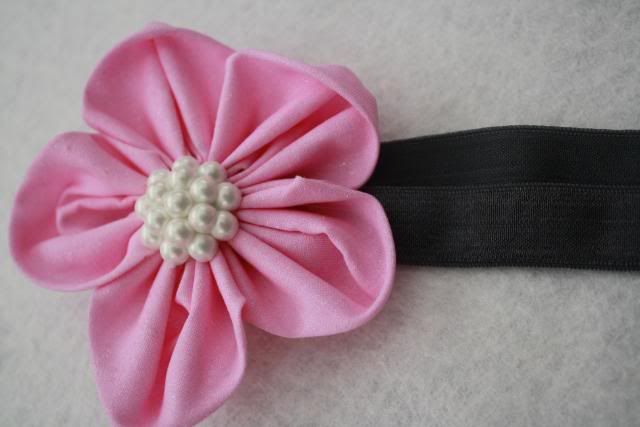
And then you add your button center {I hot glued mine in there but I am sure you can sew it. I am more of a glue girl than a sewing girl though! *wink}
I added a felt circle to the back {forgot to get a picture} and then attached it to an alligator clip.
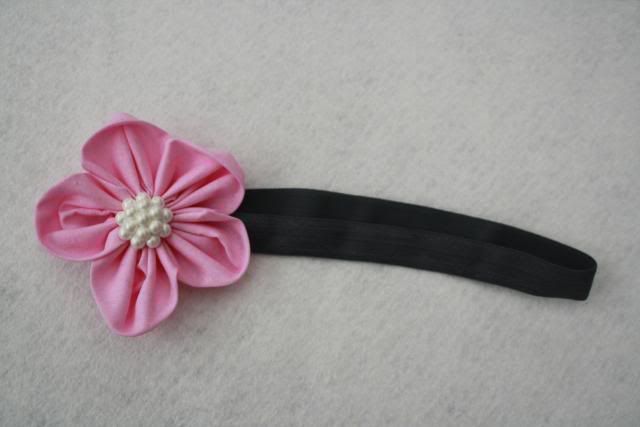
Now it can be clipped directly into your hair, or onto a headband!
You could even add a pin to the back instead and clip it to a belt, a purse... the options are endless!
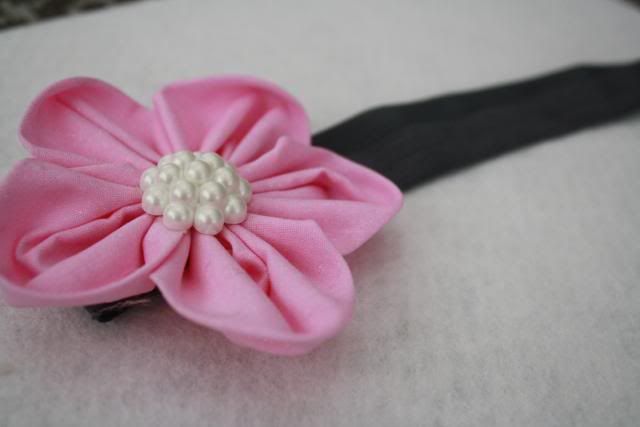
LOVE it!
I also plan on making one with each petal a different fabric, I think that would be cute as well!
Thank you so much Tracy for swapping with me today!
Hope you guys will stop by my blog sometime! I also share a post on how to make these flowers with pointy petals instead of round ones here!
THANK YOU KELLY for the great and EASY tutorial! I have a clutch that has one of these flowers on it and I've wanted to make one ever since I got it! So.. I followed your tutorial and tried my hand at the fabric flower! I love that even non-sewers would be able to figure this out and that you can whip one out in no time at all!

For the petal on the left I just tied off my thread after I went through. For the one on the right, I went back through all of the layers and was able to pull it much tighter before tying the knot.

So, my starting and ending point ended up being the same.

After having 5 petals, I decided I would see what 7 would look like!

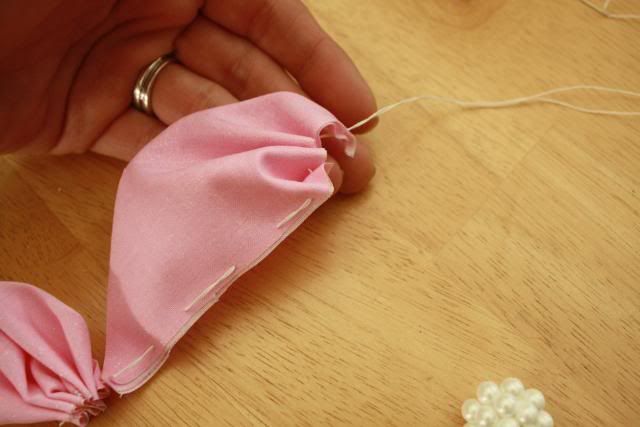
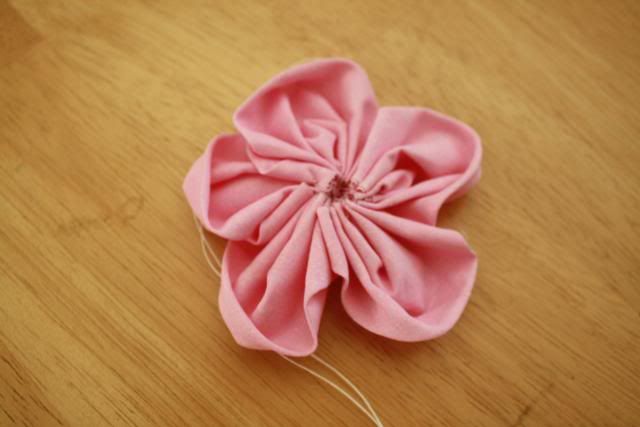
After I had all of the petals done, I went through all of them with my needle and thread to gather them all together.

Once I got to the end, I went back through the first flower and pulled it tiiiiiight!
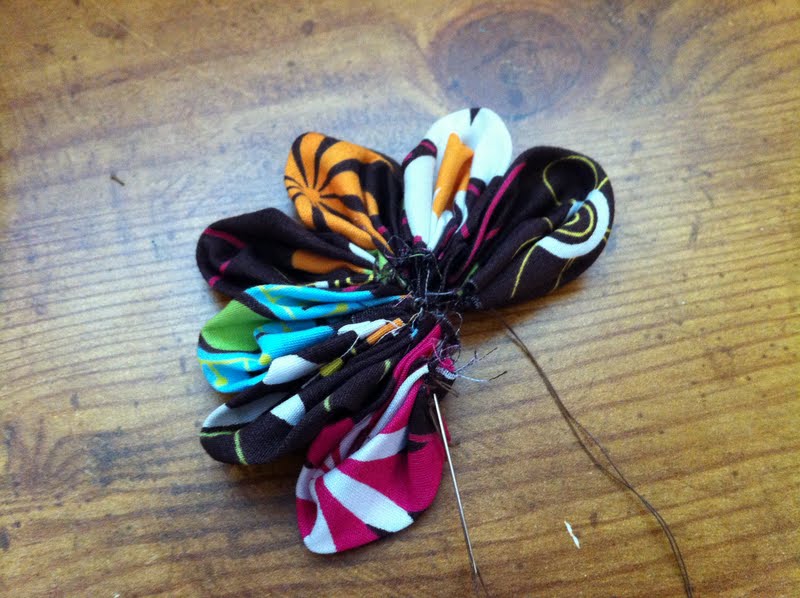
Then I went across and through the other side and pulled it tight again.

Then to different side... I wanted to be sure this sucker didn't come undone! :o)

I got out my button jars and little sparkly gem things to see what I wanted to put in the middle.

This isn't the button I ended up choosing. I was originally going to make this flower to add to the sash on this little dress I made for the upcoming baby.. but decided it was too much with the big flower on the material right there to the right. So, then I decided to make it into a hair clippie.

And even though I AM a sewer, I also love my glue gun! :) I put down a blog of glue (sorry the pic is crappy, I was working quickly before it dried!), then attached the bottom part of an alligator clip.

While the glue was still hot, I added a piece of felt on top to hold down the clip.

I LOVE how it turned out and I'm pretty sure the baby won't have enough hair for this clip, but I can clip it on to a headband.


Or... I could give it to big sister! :)

She loved it, so it looks like I'll be making another one! Who am I kidding... I will be making LOTS of these!!


No comments:
Post a Comment